
 How to sign an XML document 1. Open or select XML document(s)
Open any XML document in the editor or select one or more XML files which should be signed with a digital signature from the File Explorer window of XML ValidatorBuddy. All of the selected files will be signed using the same certificate. Any selected folder is skipped during the signing operation. 2. Use the sign command
Use the "Sign XML with Digital Signature" command either from the toolbar or from the XML menu to start the signing operation. This command is enabled when a document is loaded in the editor or if one or more files are selected on the File Explorer tab. A dialog will be displayed to set additional options for the signing operation:
How to sign an XML document 1. Open or select XML document(s)
Open any XML document in the editor or select one or more XML files which should be signed with a digital signature from the File Explorer window of XML ValidatorBuddy. All of the selected files will be signed using the same certificate. Any selected folder is skipped during the signing operation. 2. Use the sign command
Use the "Sign XML with Digital Signature" command either from the toolbar or from the XML menu to start the signing operation. This command is enabled when a document is loaded in the editor or if one or more files are selected on the File Explorer tab. A dialog will be displayed to set additional options for the signing operation: 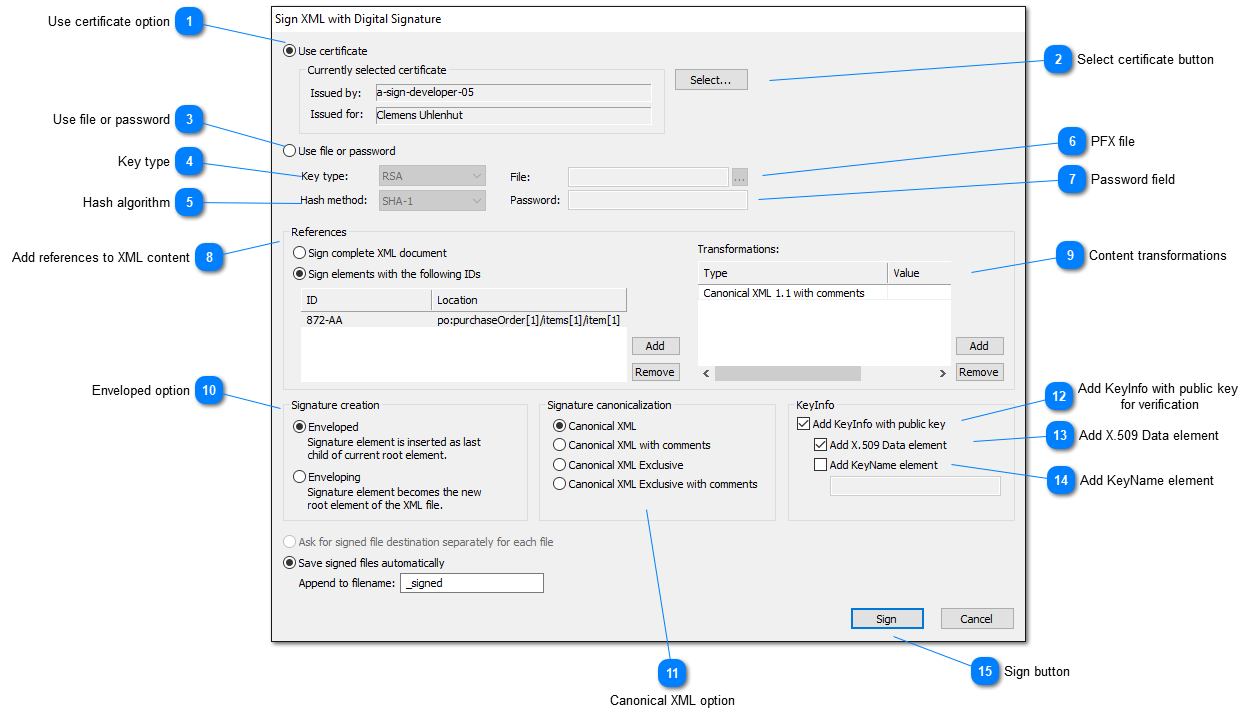
Use certificate option To sign one or more documents you can specify a certificate which holds the private key for the signing operation.
 |
| Top |
Select certificate button If there is no certificate selected on the XML Digital Signatures toolbar the fields on the dialog for the currently active certificate will be empty. Use the "Select..." button to select a certificate in this case.
|
| Top |
Use file or password Select the "Use file or password" option to read the key from an external .PFX file or to enter the password manually in the "Password:" edit field. On using a password, the key type and hash method can be selected. If a .PFX file is used key type and hash algorithm are specified by the file. Any required password to access the key from the .PFX file can be entered at the "Password:" field. Select HMAC as key type if you want to use a password to sign the XML data. Again use the "Password" field to enter the password.
|
| Top |
Key type RSA, DSA or HMAC.
|
| Top |
Hash algorithm SHA-1, SHA-2 (256), SHA-2 (384), SHA-2 (512)
|
| Top |
PFX file Path of the .PFX file that contains the key information. See also at "Use file or password".
 |
| Top |
Password field Use this field to enter either the password to sign the XML document (for HMAC keys) or to access any PFX file.
 |
| Top |
Add references to XML content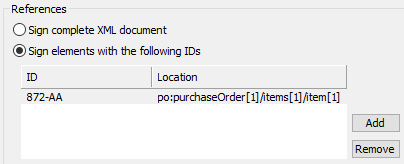 You can also sign only parts of the XML if you don't need to have the complete XML content in the signature. Use the ID values of the XML elements to select the fragments to add to the signature. You can add as many references as you like using the "Add" button. Delete a reference with the "Remove" button. If the ID can be found in the XML, the XPath is displayed in the "Location" column.
|
| Top |
Content transformations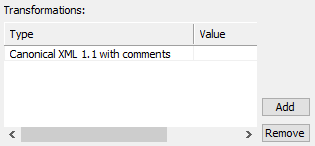 Add one or more transformation methods which are applied to the XML before signing.
|
| Top |
Enveloped option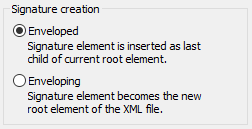 Use either enveloped or enveloping signature elements.
|
| Top |
Canonical XML option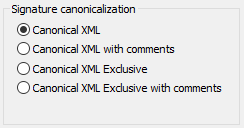 Support for several canonicalization methods for the signature element. Support for several canonicalization methods for the signature element.
|
| Top |
Add KeyInfo with public key for verification A KeyInfo element can be added to the signature to hold the public key. This way no certificate needs to be selected to verify the signature later on.
|
| Top |
Add X.509 Data element Adding an X.509 data element to the KeyInfo containing the subject name, issuer name and issuer serial number taken from the certificate.
|
| Top |
Add KeyName element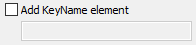 A KeyName element can be filled with an arbitrary string.
|
| Top |
Sign button Click the "Sign" button to add the digital signature. If the sign dialog is used from the built-in File Explorer the signed XML documents are saved in the same folder.
|
| Top |
 1. Open or select XML document(s) Open an XML document in the editor or select one or more XML files which should be verified from the File Explorer window of XML ValidatorBuddy. Any selected folder is skipped during the verify operation. 2. Use the verify command Use the "Verify XML Digital Signature" command either from the toolbar or from the XML menu to verify XML digital signatures. This command is enabled if there is an active document in the editor or if one or more files are selected in the File Explorer.
The public key to verify the signature of an XML document is either taken from the certificate selected on the toolbar or, if the signature of the XML document contains a KeyInfo element, directly from the file. Any selected certificate has priority over the public key from the KeyInfo element.
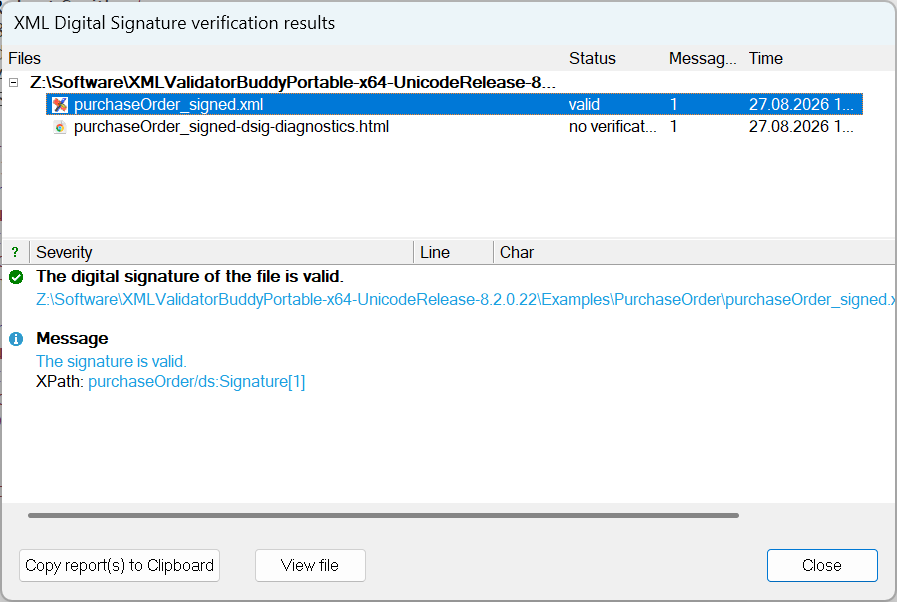
The results of the verification process are displayed on the standard results pane or as a separate dialog if multiple XML documents were selected on the File Explorer tab. Working with certificates Certificates are used to hold the private and public keys to sign and verify XML documents with digital signatures.
1. Open or select XML document(s) Open an XML document in the editor or select one or more XML files which should be verified from the File Explorer window of XML ValidatorBuddy. Any selected folder is skipped during the verify operation. 2. Use the verify command Use the "Verify XML Digital Signature" command either from the toolbar or from the XML menu to verify XML digital signatures. This command is enabled if there is an active document in the editor or if one or more files are selected in the File Explorer.
The public key to verify the signature of an XML document is either taken from the certificate selected on the toolbar or, if the signature of the XML document contains a KeyInfo element, directly from the file. Any selected certificate has priority over the public key from the KeyInfo element.
The results of the verification process are displayed on the standard results pane or as a separate dialog if multiple XML documents were selected on the File Explorer tab. Working with certificates Certificates are used to hold the private and public keys to sign and verify XML documents with digital signatures. - Certificates holding RSA, DSA and HMAC keys can be used.
- MD5, SHA and SHA-2 (SHA-256, SHA-384, SHA-512) hash algorithms are supported.
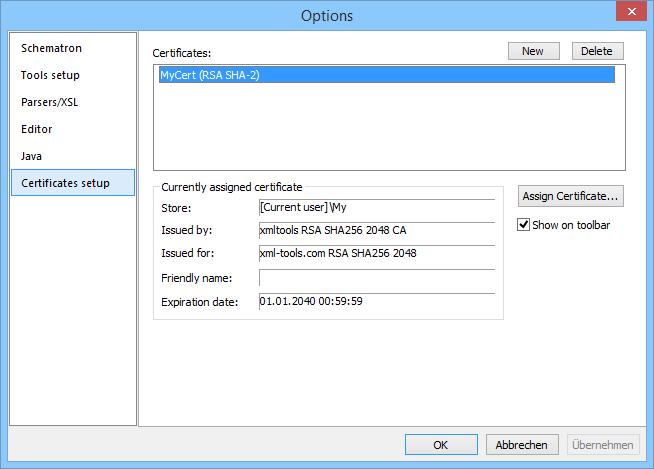 To select a certificate use the "Assign Certificate..." button. Set the "Show on toolbar" check to show the certificate as a button on the XML Digital Signatures toolbar.